A long video face swap means putting one new face on a person across a clip that runs for minutes rather than seconds: a full TikTok series, a ten-minute vlog, a wedding speech, a scene from a film. Every AI face swap tool has a ceiling on how much footage it will take in one job, so the real skill is not pressing a button but planning the clip: what to cut, how to keep the identity steady from part to part, and how to put the pieces back together without the audio drifting. This guide walks through that workflow end to end, using the aideepfake video face swap as the worked example, and is honest about where its limits sit.
What counts as a "long" video for a face swap tool
Most consumer face swap tools were built for short clips. Free tiers often stop at 10 to 30 seconds, and paid tiers usually stop somewhere between 1 and 10 minutes per job. Two separate limits matter, and people mix them up:
- The length limit. How many seconds of video one job may contain.
- The file size limit. How many megabytes the upload may weigh. A 4K phone clip can hit a size cap long before it hits a length cap.
On aideepfake, one video job accepts an MP4, MOV or WEBM file of up to 100 MB and up to 300 seconds (5 minutes) with a plain swap. If you turn on face enhancement or the frame enhancer, the cap drops to 90 seconds, because those models restore every single frame and run roughly ten times slower. Raising the pixel boost in the advanced options tightens both caps further: at 512x512 the plain limit is 200 seconds, at 1024x1024 it is 120 seconds. The length is read from the file itself on the server, so the full file counts, even if you only need the middle.
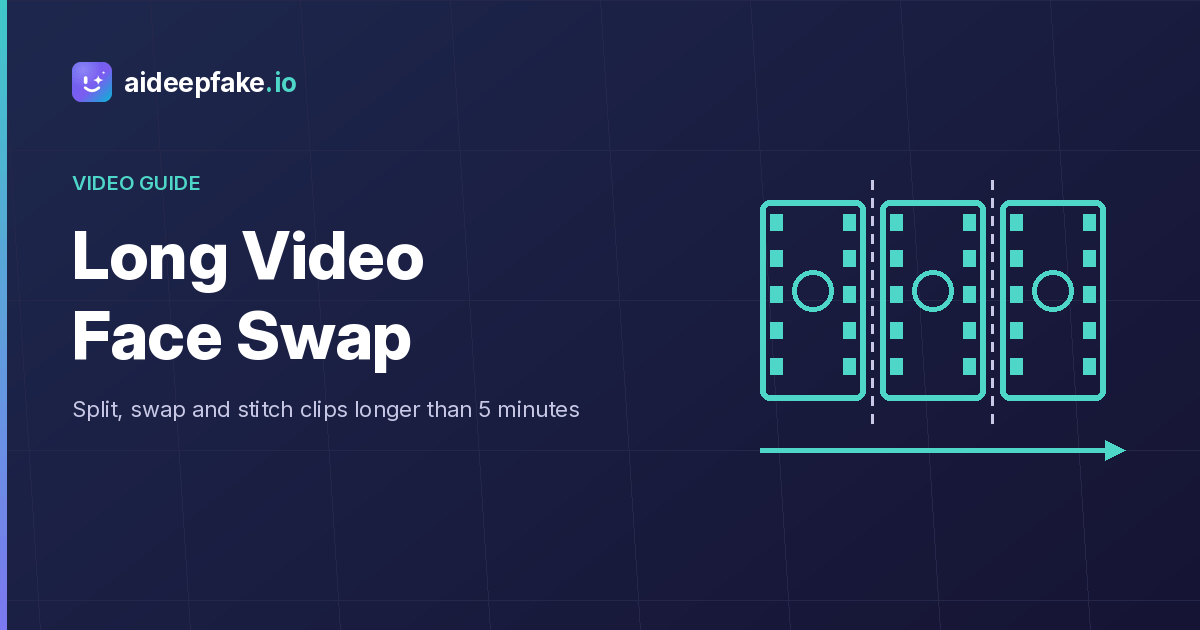
So for this tool, anything over five minutes, or over ninety seconds with enhancement, is a long video. The good news is that the fix is the same whatever tool you use: split, swap, stitch.
How other tools handle long clips (checked Nov 17, 2026)
If you need a single job that runs longer than five minutes, it is worth knowing what is out there. These figures are taken from each vendor's own page on November 17, 2026 and can change at any time:
| Tool | Longest clip per job (as stated by the vendor) | Notes |
|---|---|---|
| aideepfake | 300 s plain, 90 s enhanced, 100 MB | Same source face can be reused across any number of parts |
| FaceFusion.co | Up to 5 minutes for free users | Recommends clips under 2 minutes and splitting longer videos |
| Voxmin | Up to 600 seconds per swap | Imports sources up to 20 minutes from a link, in parts |
| SwapFace (swapfaces.ai) | Up to 10 minutes | Credits required |
| ClothesChange AI | 30 s free range, up to 60 minutes with credits | Upload up to 1.5 GB |
Notice that even the tools with large ceilings tell you to work in parts or ranges. A long job that fails at minute 47 costs you the whole wait. Short parts fail cheaply and can be retried one at a time. That is why the split-and-stitch method below is worth learning even if your tool would accept the whole file.
Step 1: Plan the edit before you touch the AI
Start in your editor, not in the face swap tool. Make a copy of the project so the original timeline stays untouched, then watch the video and note where the person whose face you want to change is actually on screen and recognisable.
You will usually find three kinds of shot:
- Shots that need the swap. The target person faces the camera or turns through a profile, and the face is large enough to read.
- Shots that do not. Cutaways, wide shots where the face is a few pixels, B-roll, title cards. Leave them alone. Swapping them costs credits and adds nothing.
- Shots that will fight you. Heavy motion blur, faces covered by hands or a microphone, extreme profile, very dark scenes. Plan to test these first.
Write down the time ranges that need work. A 12-minute vlog where the host is on camera for 7 minutes is a 7-minute job, not a 12-minute one. This step alone often brings a long video under the per-job cap or cuts the number of parts in half.
Step 2: Split the video into parts under the cap
Each part needs to be under the length cap and under 100 MB. For a plain swap, aim for parts of about four and a half minutes, leaving a margin below 300 seconds. With enhancement on, aim for about 80 seconds.
Try to cut on natural edit points: a scene change, a cut to B-roll, a pause in speech. A seam in the middle of a continuous close-up is where viewers will spot a jump in skin tone or lighting.
If you are comfortable with the command line, the free tool ffmpeg splits a file without re-encoding, which keeps quality and is fast:
ffmpeg -i input.mp4 -c copy -map 0 -f segment -segment_time 270 -reset_timestamps 1 part_%03d.mp4
That writes part_000.mp4, part_001.mp4 and so on, each about 270 seconds long. Stream copy can only cut on keyframes, so parts will not be exactly 270 seconds; check that none runs over your cap. If you need a part to start at an exact point, cut that range out on its own:
ffmpeg -ss 00:04:30 -to 00:08:55 -i input.mp4 -c:v libx264 -crf 18 -c:a aac part_002.mp4
Re-encoding with -crf 18 keeps the picture visually clean. If a part is still above 100 MB, scale it to 1080p or lower the bitrate before uploading. Any editor that exports clips (CapCut, DaVinci Resolve, Premiere, iMovie) works too: export each range as its own MP4.
Step 3: Lock one source face and test the hardest shot
Consistency across parts comes from using the exact same source photo for every job. Pick a sharp, evenly lit, front-facing photo with a single face in it, no sunglasses, no heavy filter, and keep that file for the whole project. Changing the photo halfway through is the most common reason a long edit looks like two different people.
Before you run all the parts, run the most difficult one, the shot with the head turn or the hand in front of the face. The tips for a realistic face swap apply here: match the angle and lighting of the source photo to the footage as closely as you can. If you want a cheap preview, grab a still frame from that shot and run an image swap first; on aideepfake an image costs 15 credits against at least 20 for a clip.
When more than one person is in frame, check who gets the new face. A video job on aideepfake swaps one face by default, chosen by the face selector in the advanced options. You can change the order it picks by (for example largest face first, or left to right), filter by gender or age range, or switch to a mode that swaps every face with the same source. For a long video, set this once on the test part and reuse the same settings for every part, so the swap never jumps to the wrong person after a cut. If you need different faces on different people, read our guide to multiple face swap first, because that is a different job.
Step 4: Run the parts and keep the settings identical
Now upload each part in turn with the same source face and the same options. Keep a short note of what you used: enhancement on or off, pixel boost, selector settings. If one part comes back wrong, you can rerun just that part with the same settings instead of starting over.
A few practical points for the aideepfake tool:
- Enhancement trades length for detail. Face enhancement sharpens the swapped face, but it limits each part to 90 seconds and takes longer. For talking-head footage at 1080p, a plain swap is often enough; for close-ups that will be watched on a big screen, the enhanced pass is worth the extra parts.
- Audio comes back with the video. The finished file keeps the original audio track, so each part arrives ready to drop on the timeline.
- Processing time scales with length. Every frame gets its own detection and blending pass, so a five-minute part takes noticeably longer than a ten-second clip. The page shows the elapsed time while it works; a job still running after 15 minutes is stopped, and failed jobs are refunded automatically.
- Watermark. Renders carry a small mark by default. Any purchase unlocks a switch that turns it off; see face swap without a watermark for details.
Step 5: Stitch the parts back together
Put each swapped part on the timeline over the original range it came from. Because the parts were cut from the same file and keep their audio, they line up frame for frame if you place them at the original timecode.
With ffmpeg, list the parts in order in a text file:
file 'swapped_000.mp4'
file 'swapped_001.mp4'
file 'swapped_002.mp4'
Then join them without re-encoding:
ffmpeg -f concat -safe 0 -i list.txt -c copy output.mp4
This works when every part has the same resolution, frame rate and codecs, which is the case if they came out of the same tool with the same settings. If the join stutters or the audio drifts, re-encode instead of copying (-c:v libx264 -crf 18 -c:a aac), or lay the original full audio track under the joined picture in your editor and mute the part audio. That one move fixes almost every sync problem in a long edit.
Step 6: Review the seams with the sound on
Watch every seam twice, once forward and once by scrubbing back across it. Check four things:
- Identity. The face on both sides of the cut reads as the same person.
- Colour. Skin tone and lighting do not jump at the seam.
- Occlusion. Hands, glasses and microphones still sit in front of the face where they should.
- Sync. Lips still match the words after the join.
If one part fails, fix only that part: try a different crop, a source photo at a closer angle, or the enhanced pass at a shorter length. Keep everything that already passed.
What a long video face swap costs
On aideepfake, video is priced by length: 5 credits for every 10 seconds, rounded up, with a minimum of 20 credits per clip. A full 5-minute part costs 150 credits. So:
- A 3-minute clip: 90 credits.
- A 12-minute video swapped in three parts: about 360 credits.
- The same video after Step 1 trimmed it to 7 minutes of on-camera time: about 210 credits.
Failed jobs are refunded automatically, and you only pay for the parts you actually run, which is another reason to skip shots that do not need the swap. Credit packs start at 200 credits for $11.99 and never expire; the pricing page lists current packs and plans. A free account can also claim 10 check-in credits a day, which helps with test runs.
Common problems and quick fixes
- "Video too long" error. The file is over the cap for your settings. Trim it, turn off enhancement, or lower the pixel boost. Remember the whole file counts, not just a trimmed range.
- Upload refused. Over 100 MB. Export at 1080p or a lower bitrate.
- The swap jumps to another person after a cut. Change the face selector order or add a gender or age filter, then rerun that part with the same settings.
- Face flickers in fast motion. Use a sharper source photo, or try the enhanced pass on that short part only.
- Audio out of sync after joining. Re-encode on join, or place the original audio under the finished picture.
Use it responsibly
Only swap faces you have permission to use, and only into footage you own or have the right to edit. Label the result as AI-edited where your platform asks for it, and never use a long video face swap to put words in a real person's mouth or to deceive. Our explainer on how to detect deepfakes covers what viewers look for, which is also a good checklist for keeping your own edits clearly playful.
Start your first part
The method in short: plan the shots, split into parts under the cap, lock one source face, run the hardest part first, stitch with the original audio, and review every seam. If you are new to the tool, our step-by-step guide on how to make a face swap video covers the basics of a single clip. When you are ready, open the face swap tool on the homepage or go straight to free video face swap to run your first part.